This is a short tutorial to show you how to install openvocs from a checked out respository. The first step is to compile the openvocs code base. To do so use:
source env.sh
make clean && make -j 12
The next step is to compile an install target. Install targets supported are deb and rpm.
make debOnce the package is build you can install the package using your package manager.
sudo dpkg -i build/openvocs_0.2.0-402_amd64.debOpenvocs is now installed within your system. Important folder are configuration, which is installed to /etc/openvocs and HTML sources, which are installed under /srv/openvocs/HTML.
Once the system is installed it need to be configured. To configure the system move to /etc/openvocs and run the ov_config.sh script.
NOTE ov_config.sh expects your IP address as input and need to be run as root.
cd /etc/openvocs
sudo ./ov_config.sh 192.168.2.110
Once the script is executed you should restart all openvocs applications. This is quite easy using:
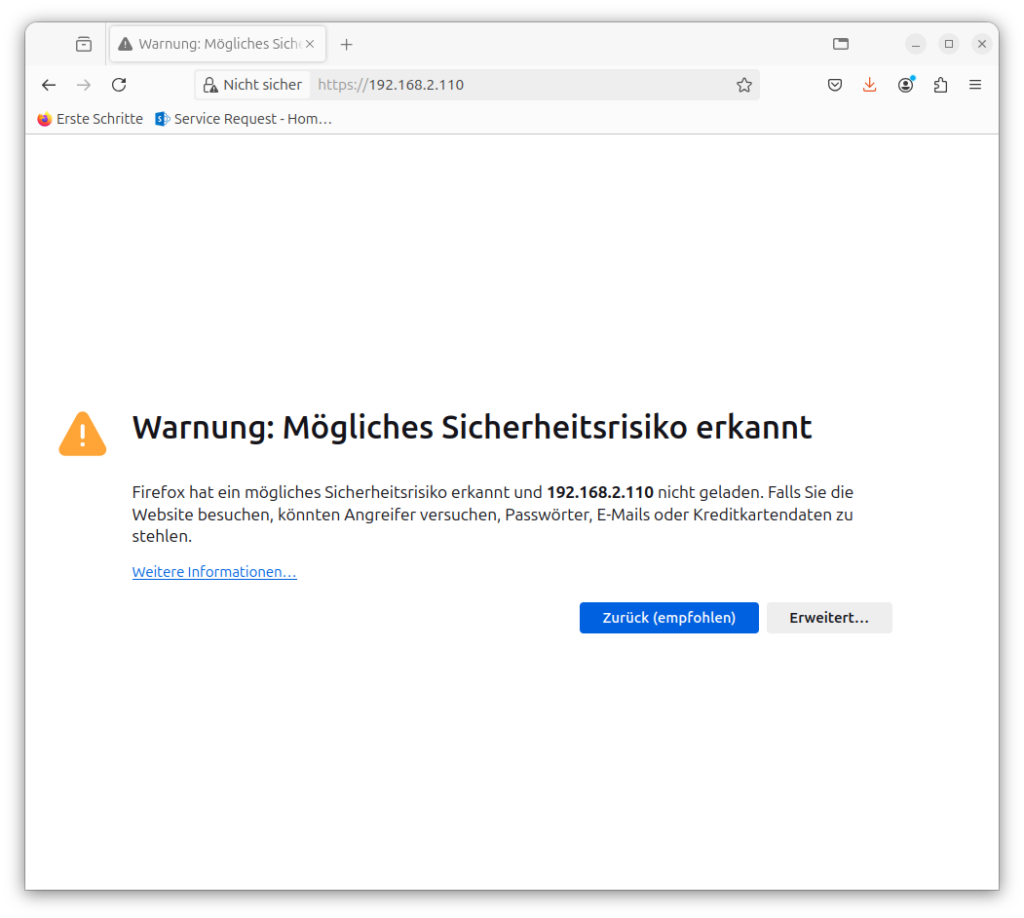
sudo systemctl restart ov_mc.targetYou may now use your browser to navigate to your IP Address. You will be presented with a certificate failure message. This is due to your recent created certificate using ov_config.sh. You may change the certificate later, for now press advanded and accept the certificate.

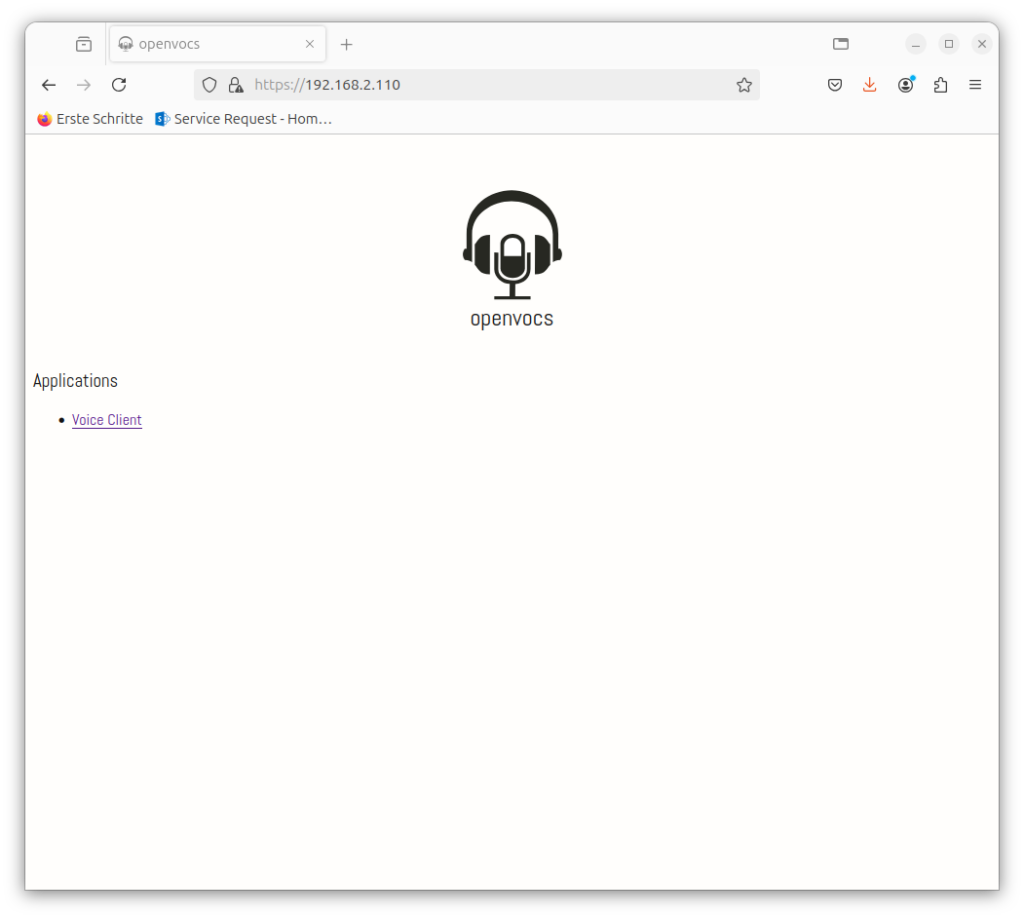
Once the certificate is accepted you will see the following page. Press the Voice Client application and start using openvocs.

The default login page will be shown. You may use the users user1 to user10 with the passwords similar to the username to test openvocs.

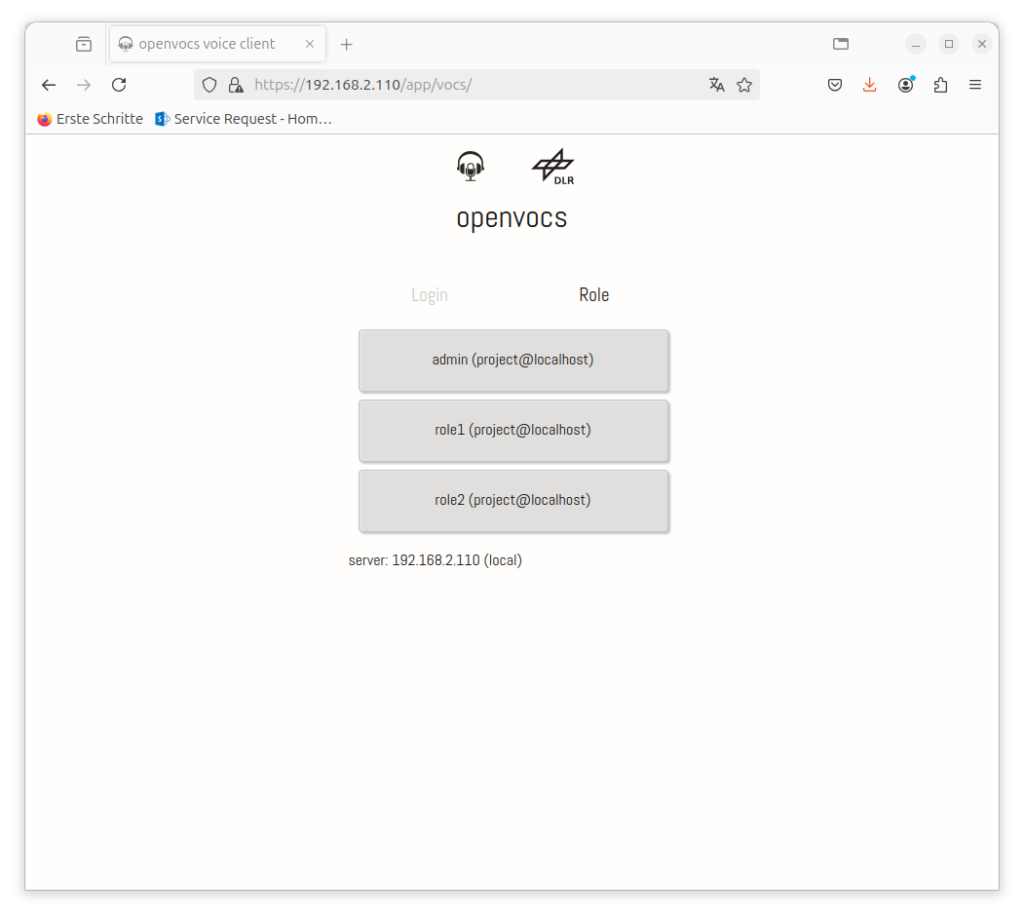
The next page will show you a role selection, please chose role1 or role2 to login.

Once done and the audio device was selected properly the follwing window will be the openvocs voice client.

Congratulations, you have successfully installed openvocs on your local machine. You may use different devices in the same network to test the functionality.

